Update: May 2020
This article was originally created in December 2018. I will not be updating it going forward.
Although the instructions remain valid, if you are using the WordPress Certified by Bitnami and Automattic Amazon Machine Image to create an EC2 instance to host a WordPress site, Bitnami has more recently integrated its own Let’s Encrypt certificate client into the Bitnami Helper Tool, which you can read more about in WordPress on Amazon EC2: Connect to an Instance via SSH.
This is part of my Introduction to Installing Let’s Encrypt Certificates for WordPress on Amazon Web Services (AWS) tutorial.
In Install a Let’s Encrypt SSL/TLS Certificate on an AWS EC2 Instance, we learned how to install the Lego client to create and manage TLS/SSL certificates provided by Let’s Encrypt. The certificates issued by Let’s Encrypt expire every 90 days, so you will need to renew them before they expire to maintain your website’s HTTPS connection. Let’s Encrypt will send you an email to notify you that your certificate is expiring soon.
It only takes a few minutes on the command line to renew the certificate. Try the below steps to get familiar with the renewal process, but once you do so you can also Automate the Renewal of a Let’s Encrypt SSL/TLS Certificate on an AWS EC2 Instance.
Prerequisites
In this example I am renewing a Let’s Encrypt SSL/TLS certificate on a LAMP-stack virtual server (in this case an EC2 instance from Amazon Web Services) over Secure Shell (SSH) using the command line. I am using the macOS Terminal, which is Unix-based, but the commands will be the same regardless of what command-line interface you are using.
Warning
- When working with SSL/TLS certificates, be very careful. If you are planning on adding, renewing, or removing an SSL/TLS certificate, make sure you create a complete backup of your website before trying anything.
- If you are working with AWS EC2 instances, always take a snapshot of the instance’s storage volume before you try any of these steps. If anything goes wrong, you can use the snapshot as part of your recovery plan.
Renew an Existing SSL/TLS Certificate from Let’s Encrypt on Your EC2 Instance
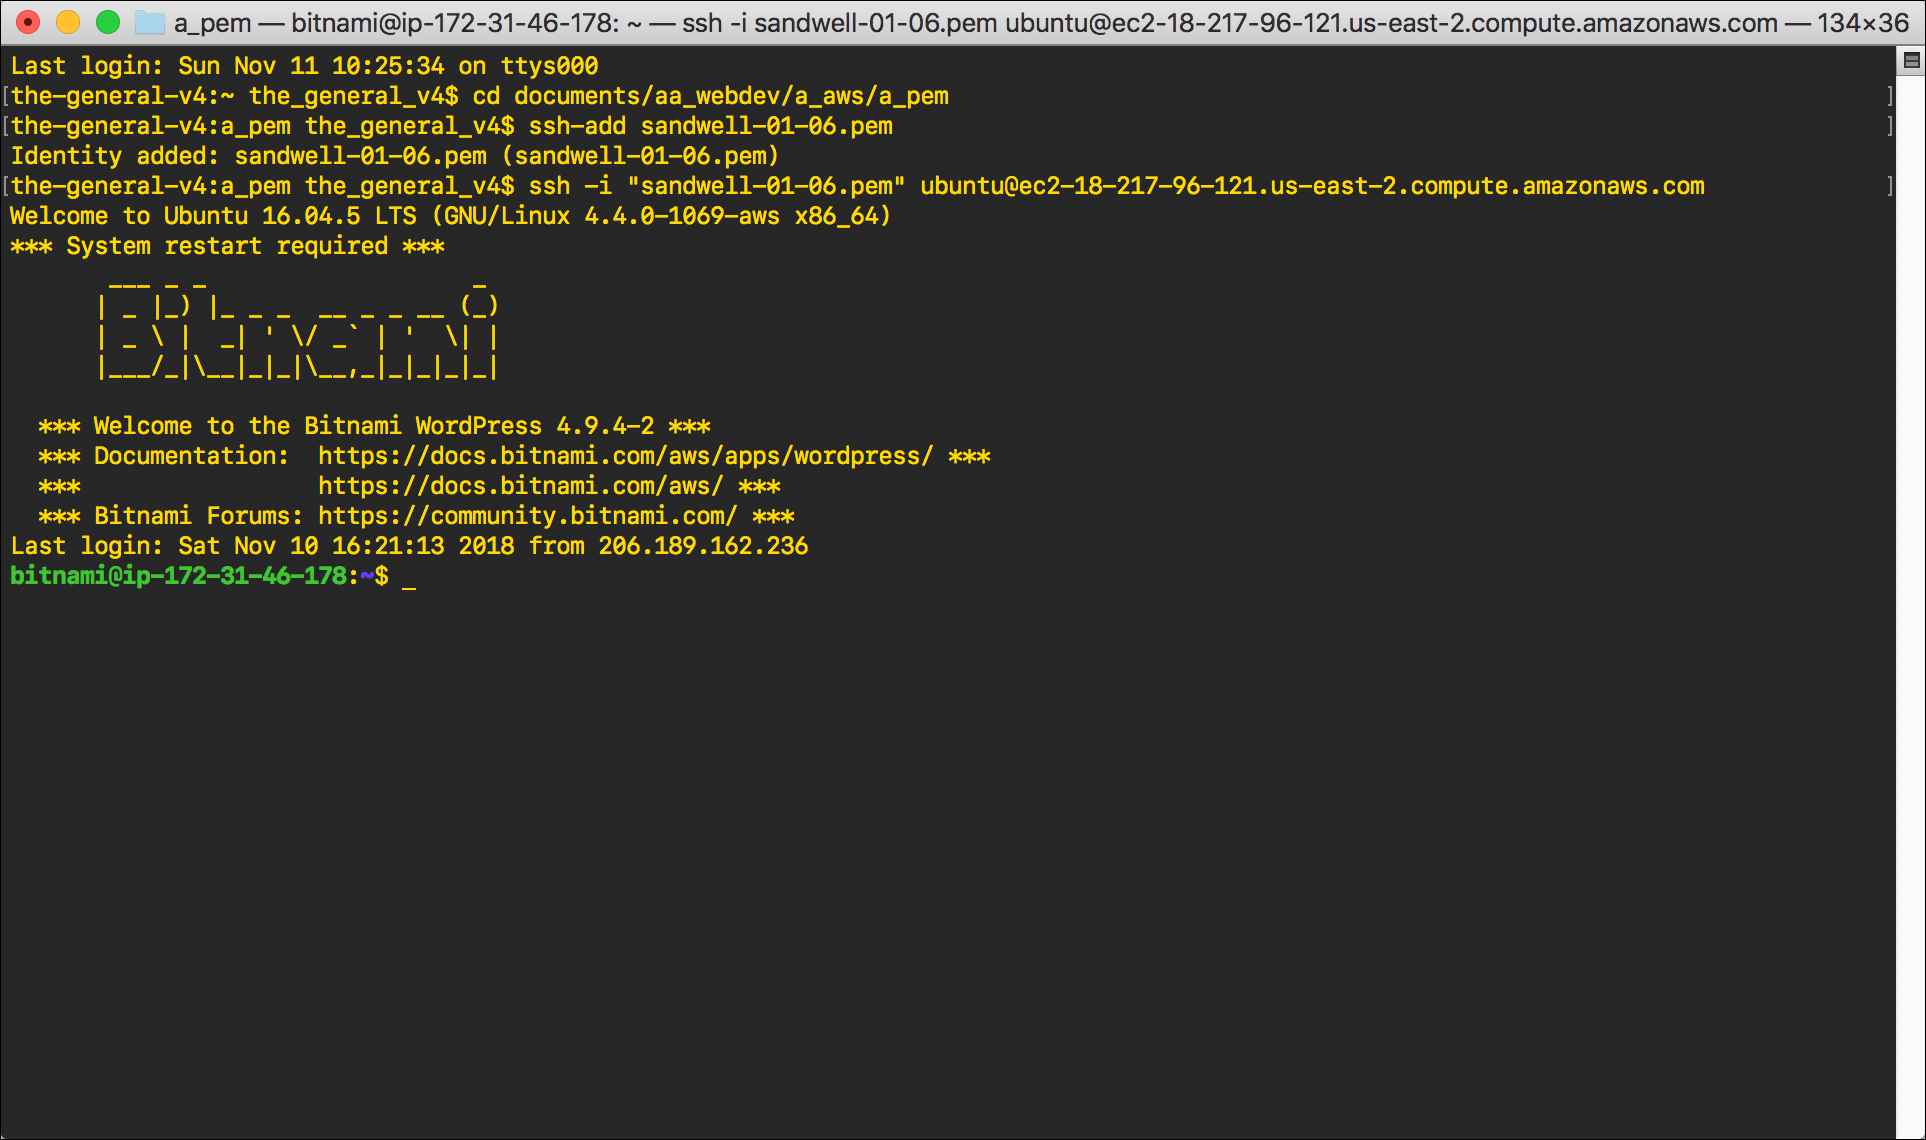
- Connect to your EC2 instance by following the steps in WordPress on Amazon EC2: Connect to an Instance via SSH.
- Type
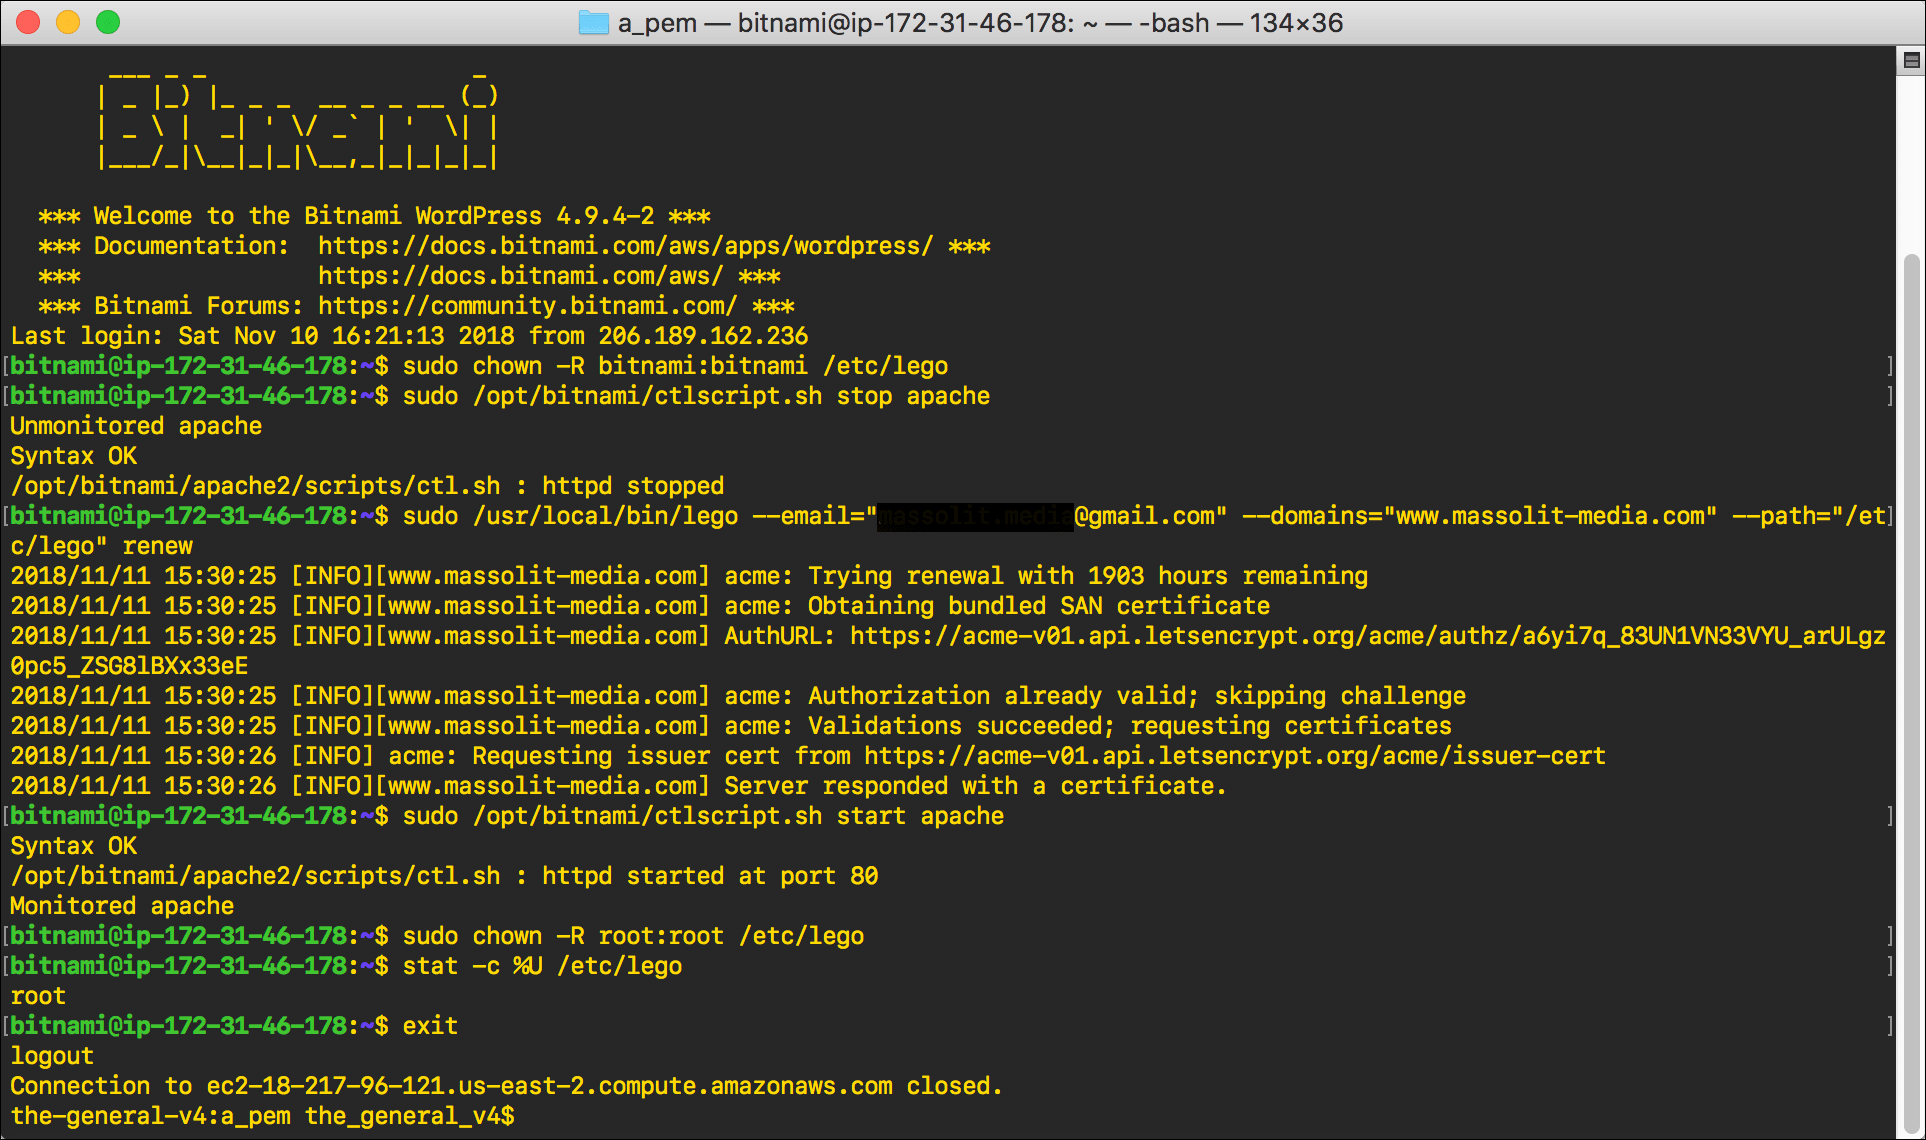
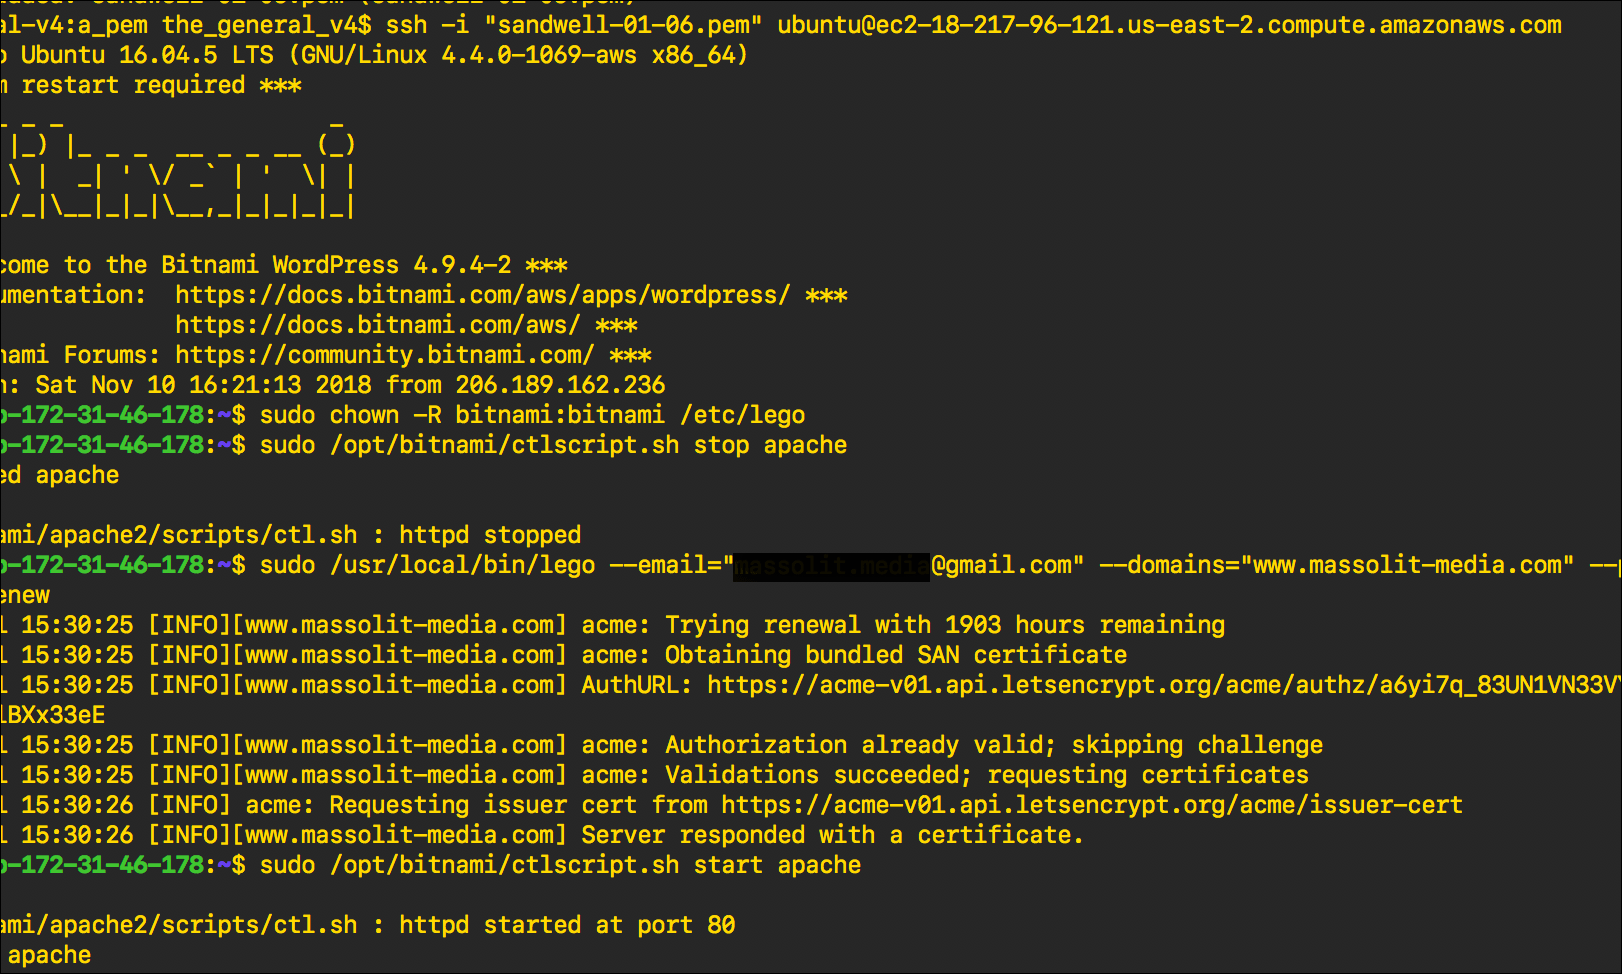
sudo chown -R bitnami:bitnami /etc/legoand pressEnter./etc/legois the directory where the certificates are stored; we need to chown it to bitnami so that we can access it.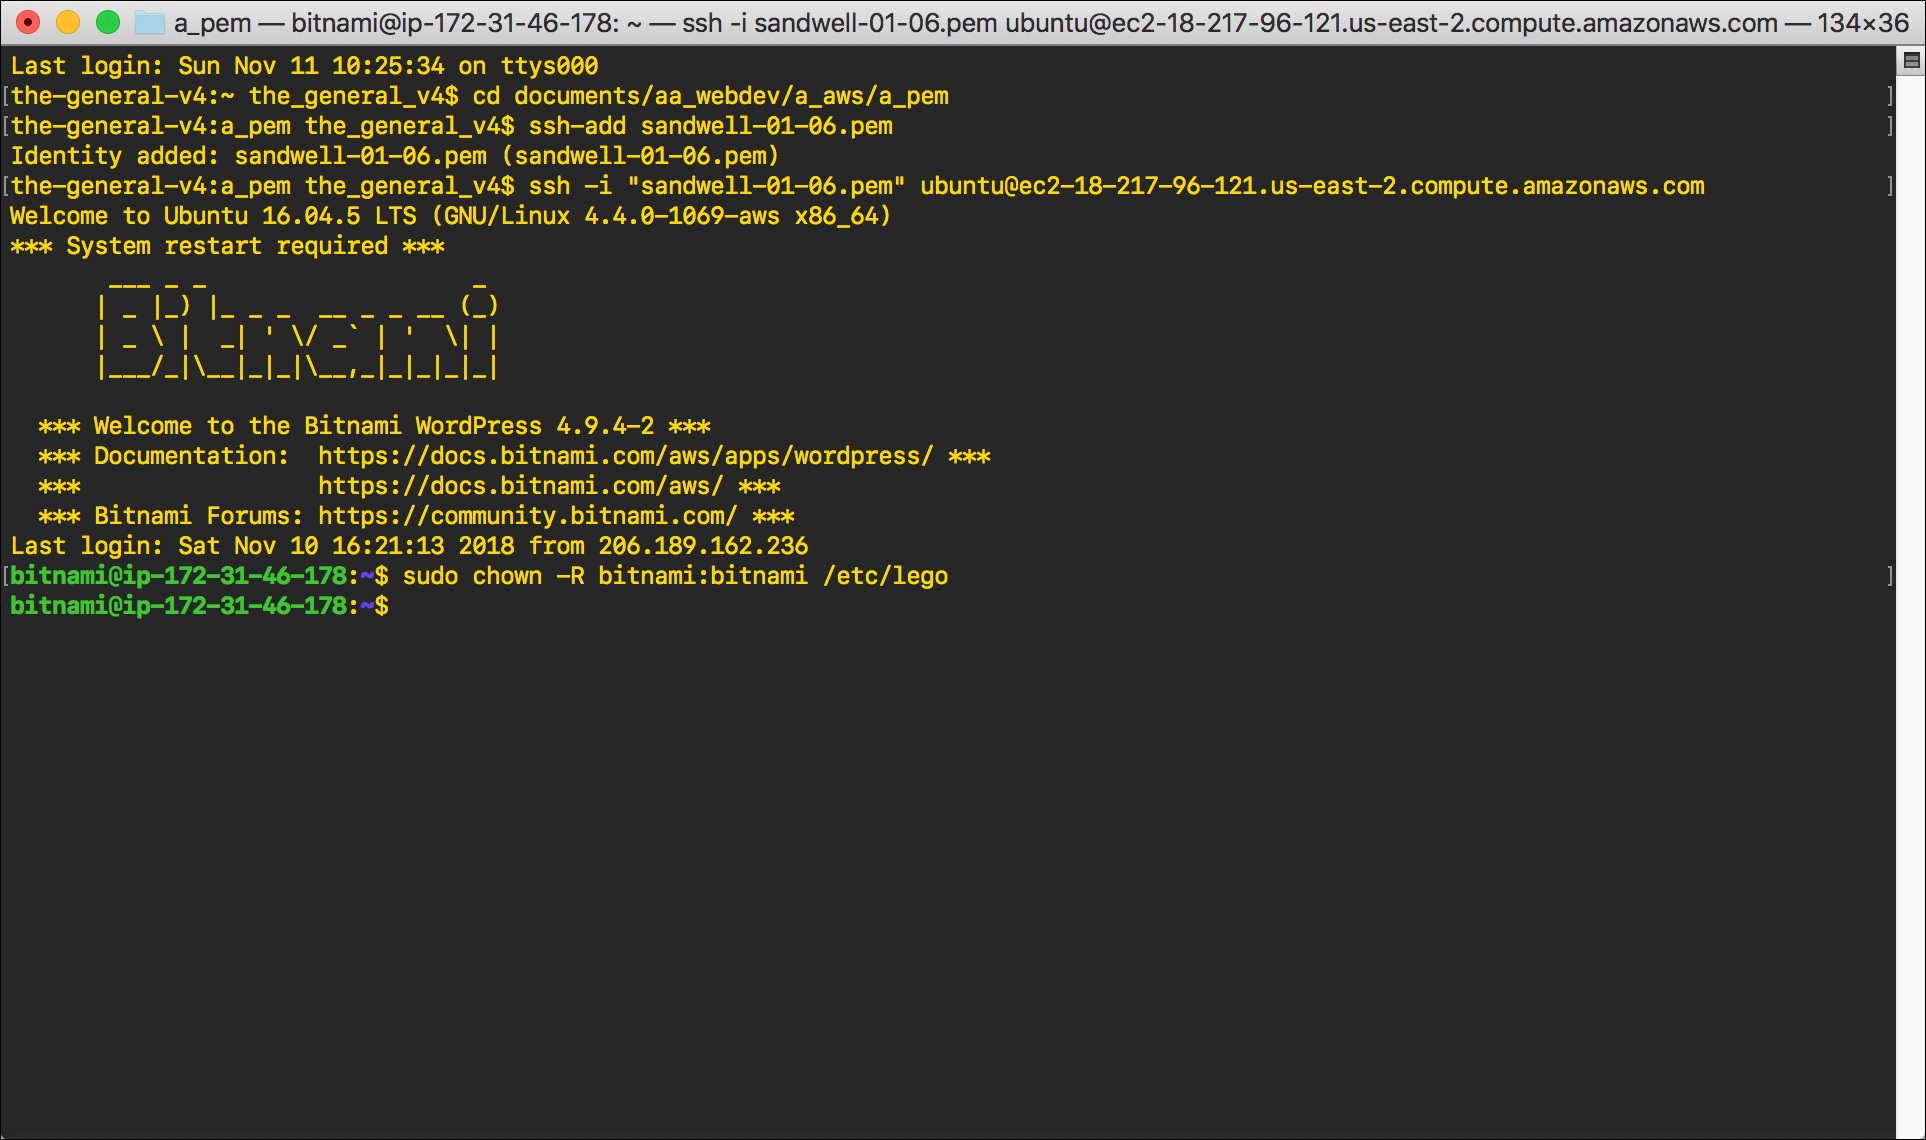
- You need to stop the httpd service (the Apache server) to renew the certificate:
sudo /opt/bitnami/ctlscript.sh stop apache.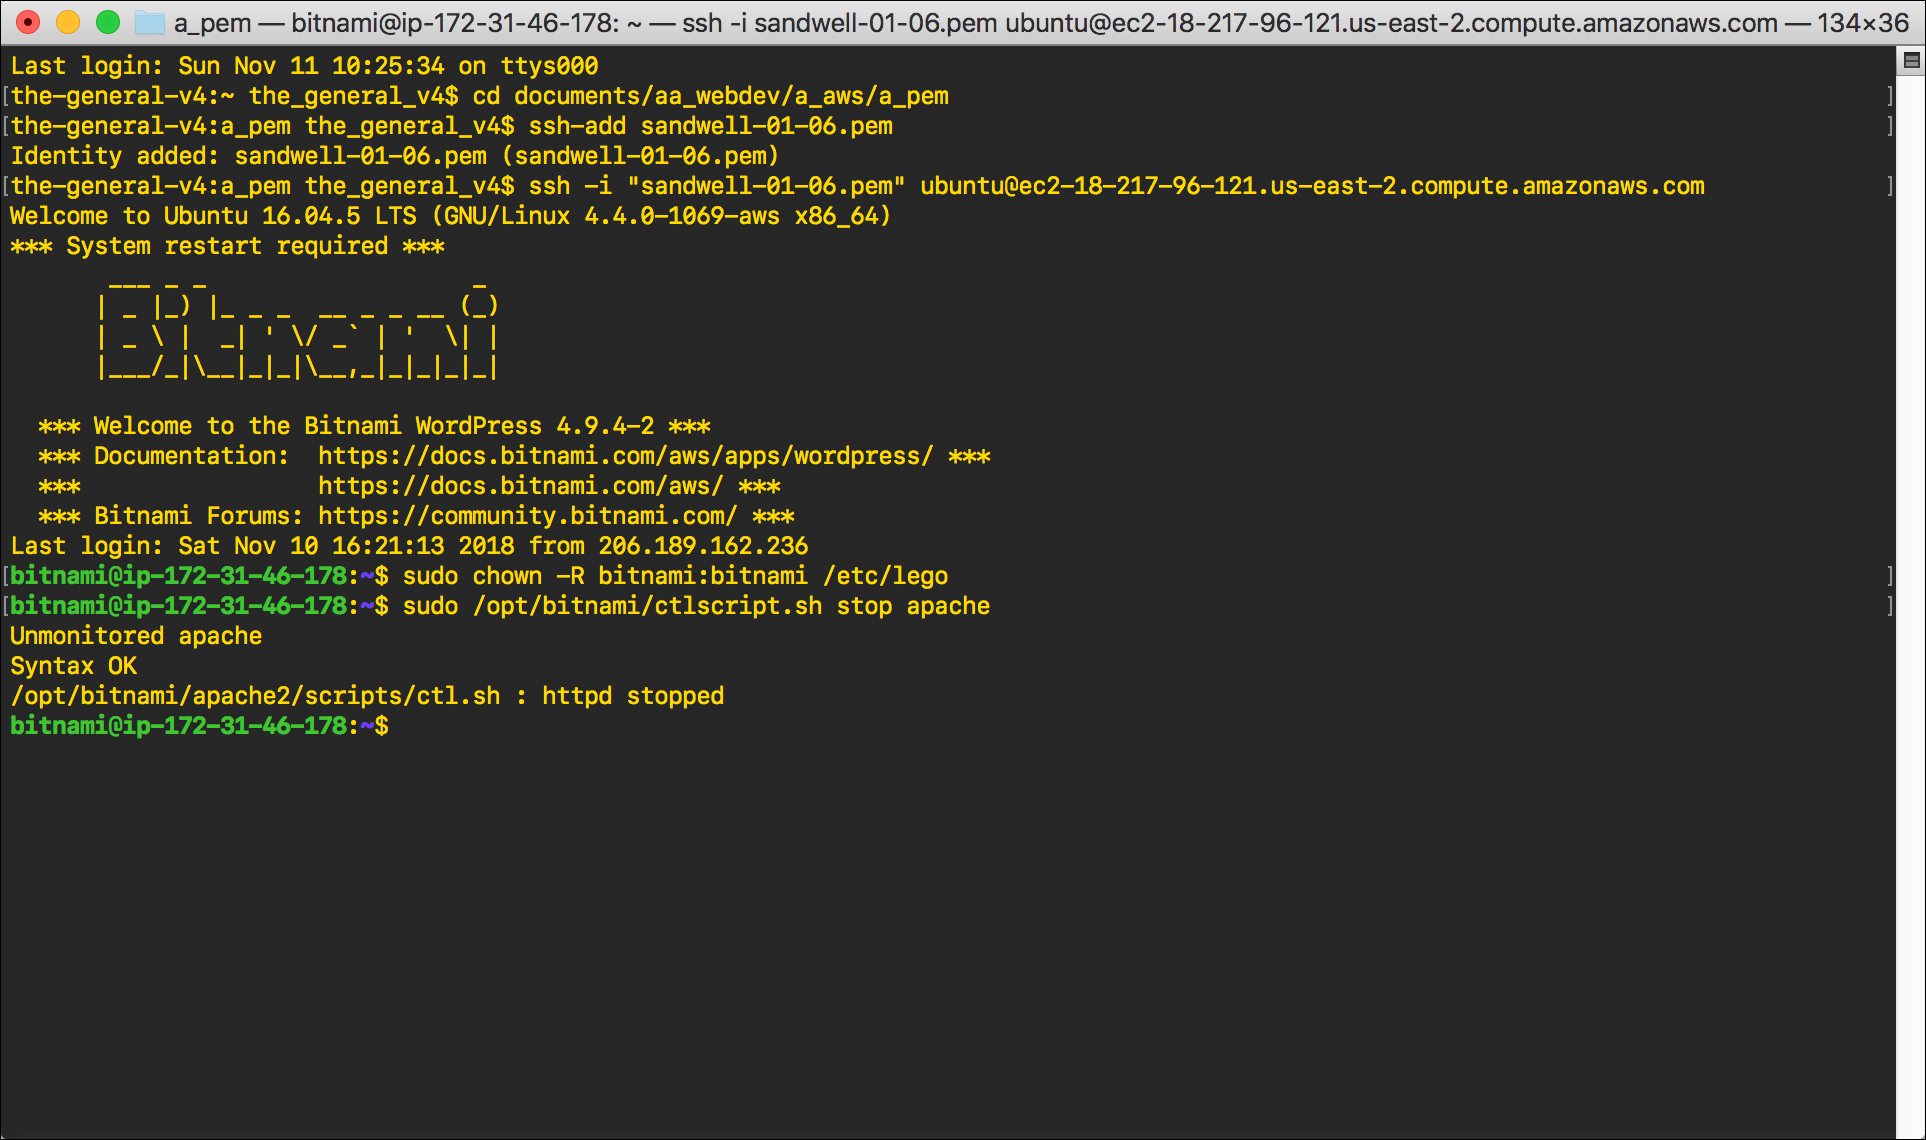
- Enter the following command:
sudo /usr/local/bin/lego --email="email@email.com" --domains="www.domain.com" --path="/etc/lego" renew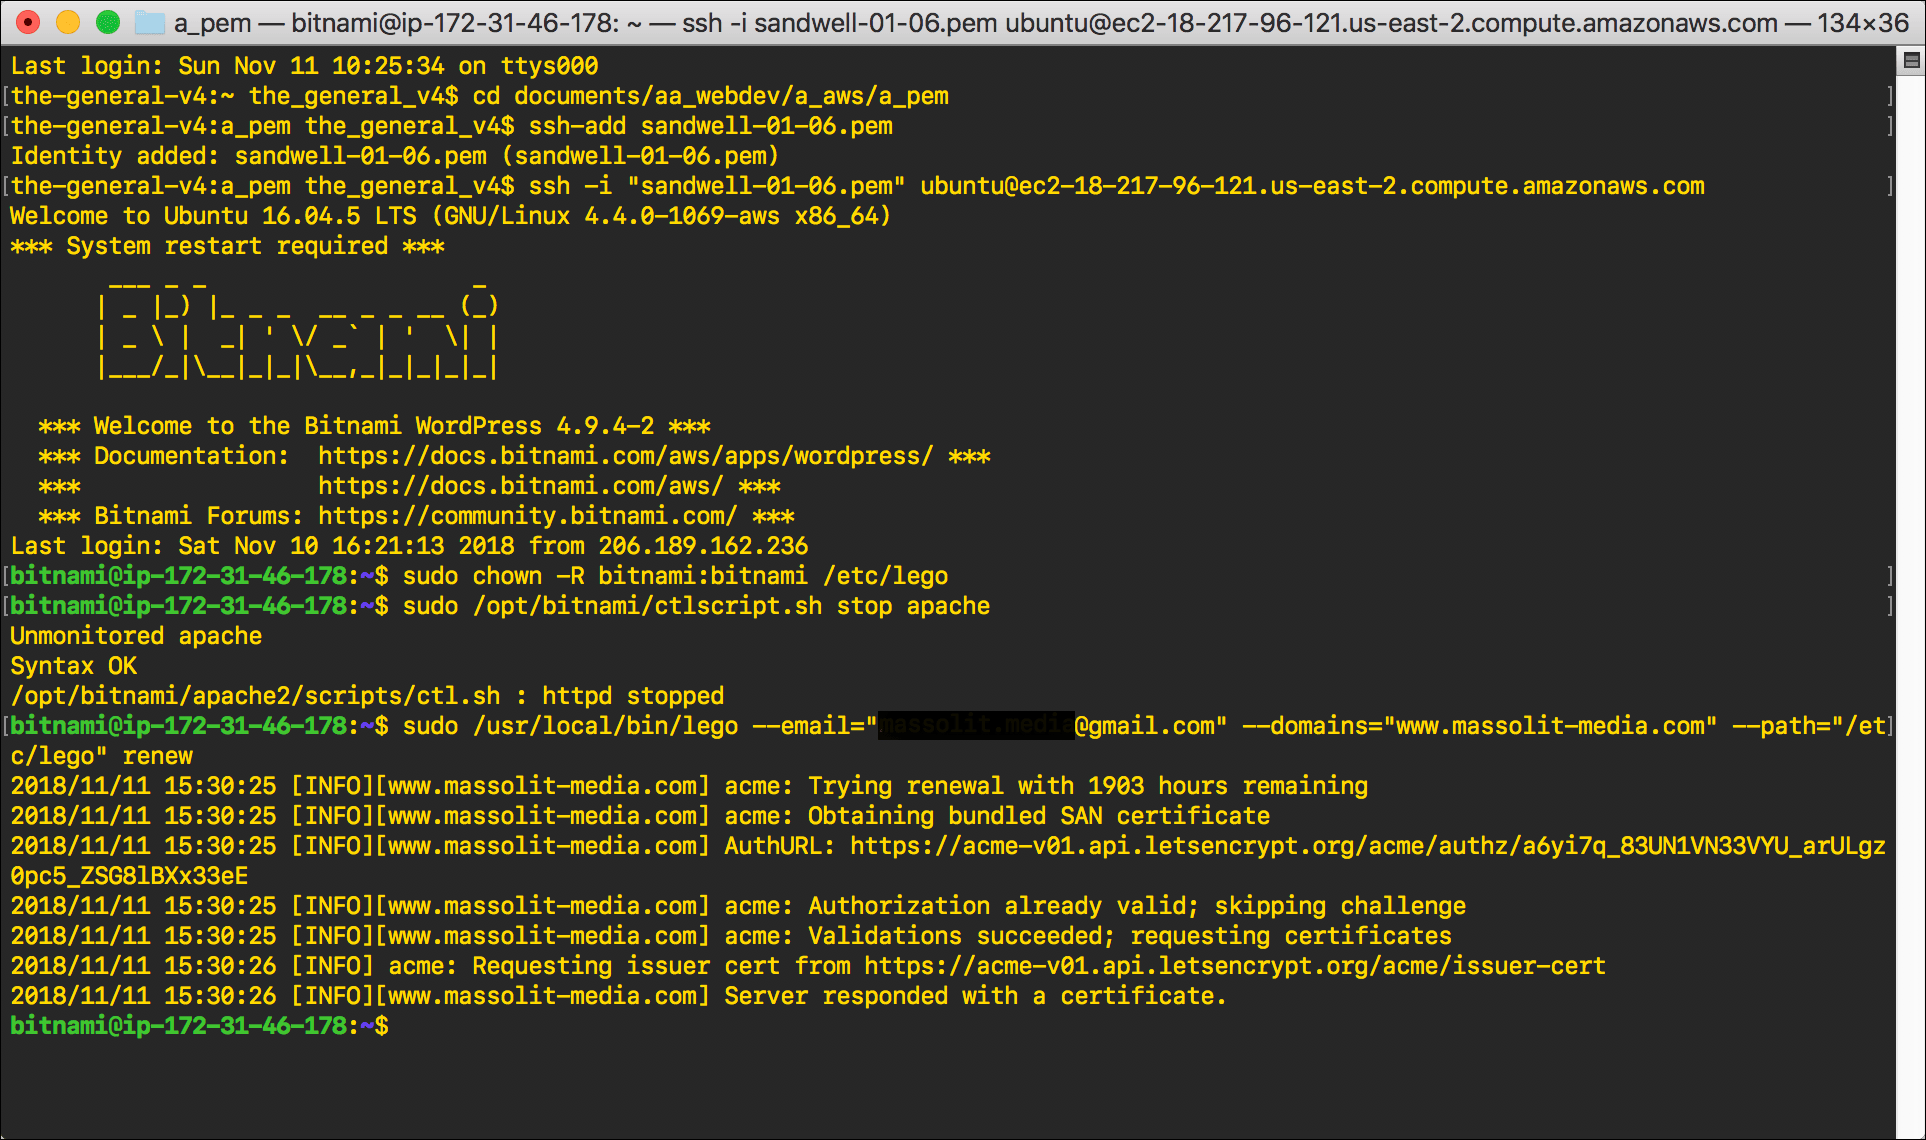
- Replace
email@email.comwith the email address where you want to receive updates about your certificate, including warnings when your certificate is about to expire. - Replace
domain.comwith the domain name for the Let’s Encrypt certificate that you are renewing. Includewww.as needed.
- Replace
- Restart the httpd service:
sudo /opt/bitnami/ctlscript.sh start apache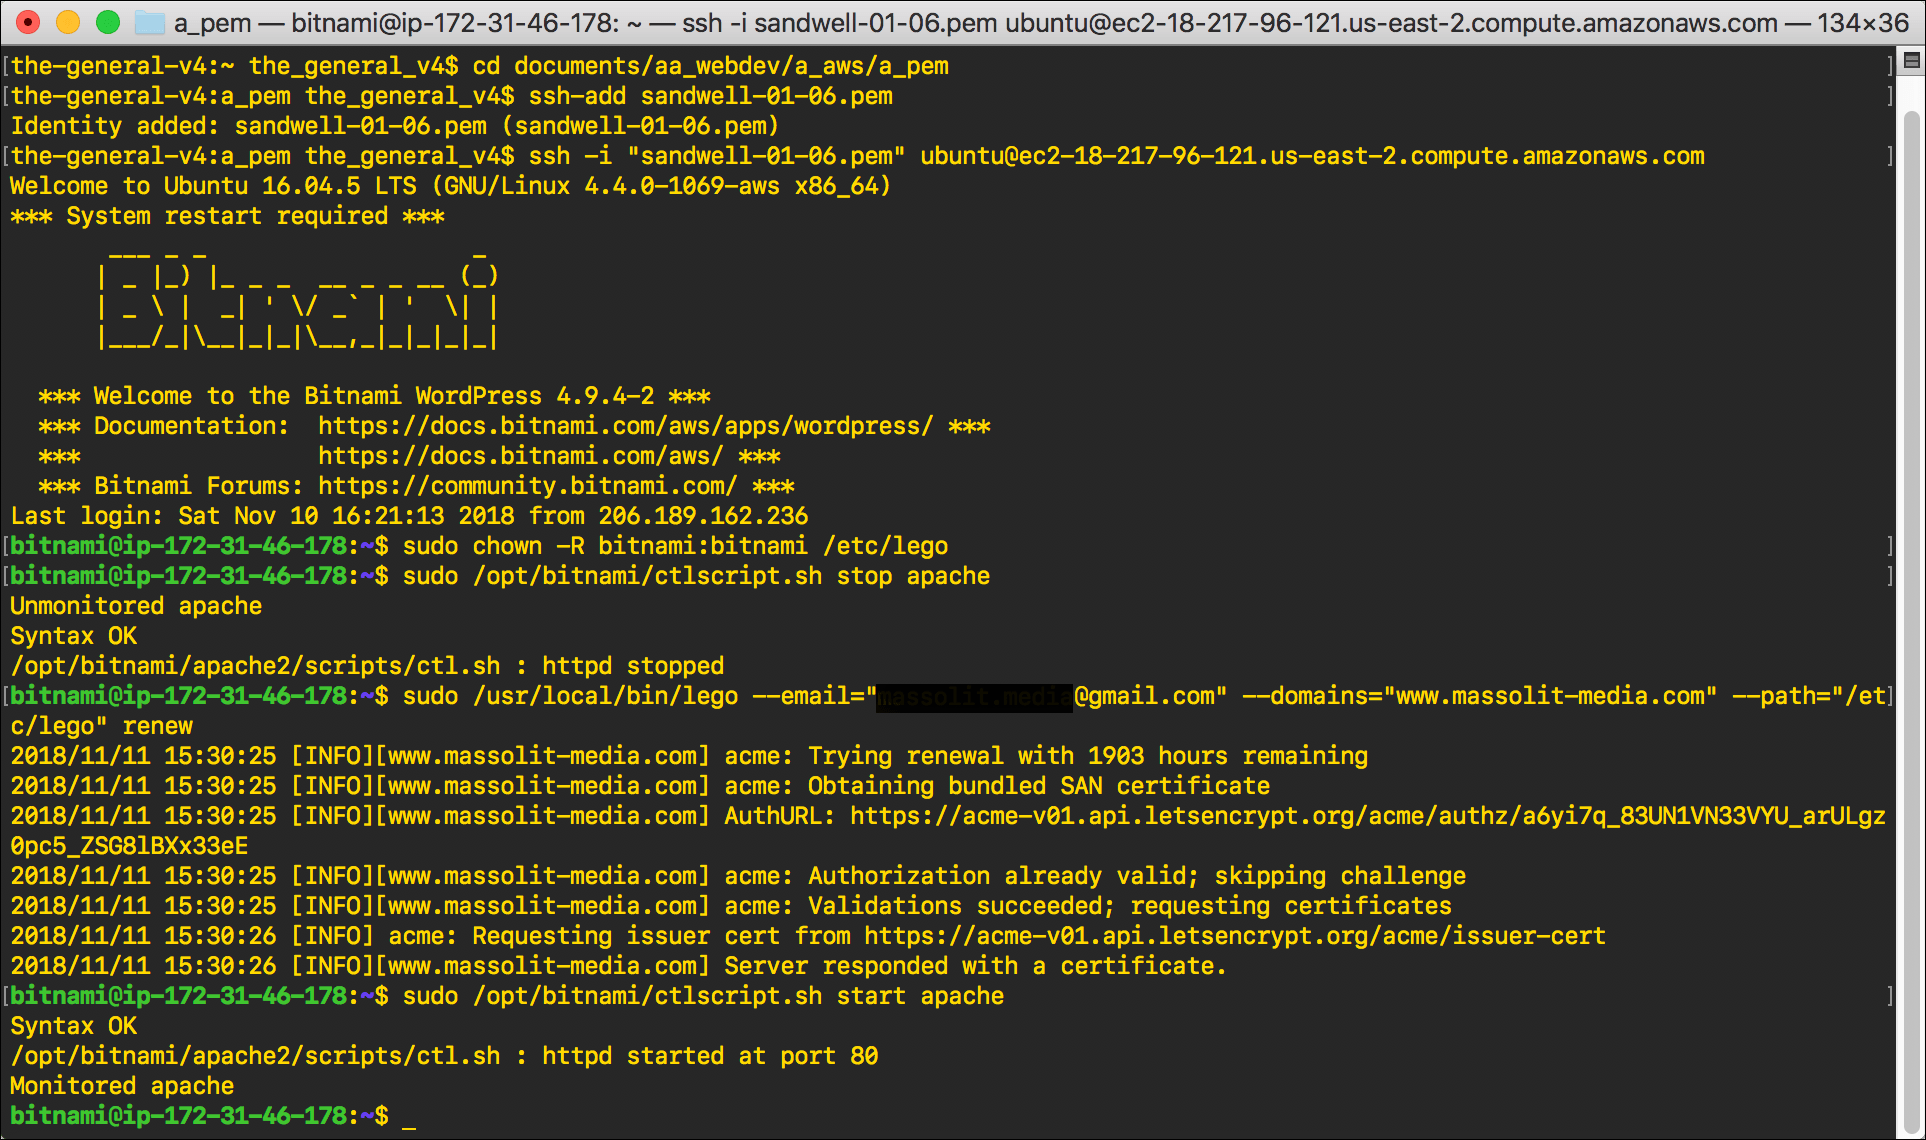
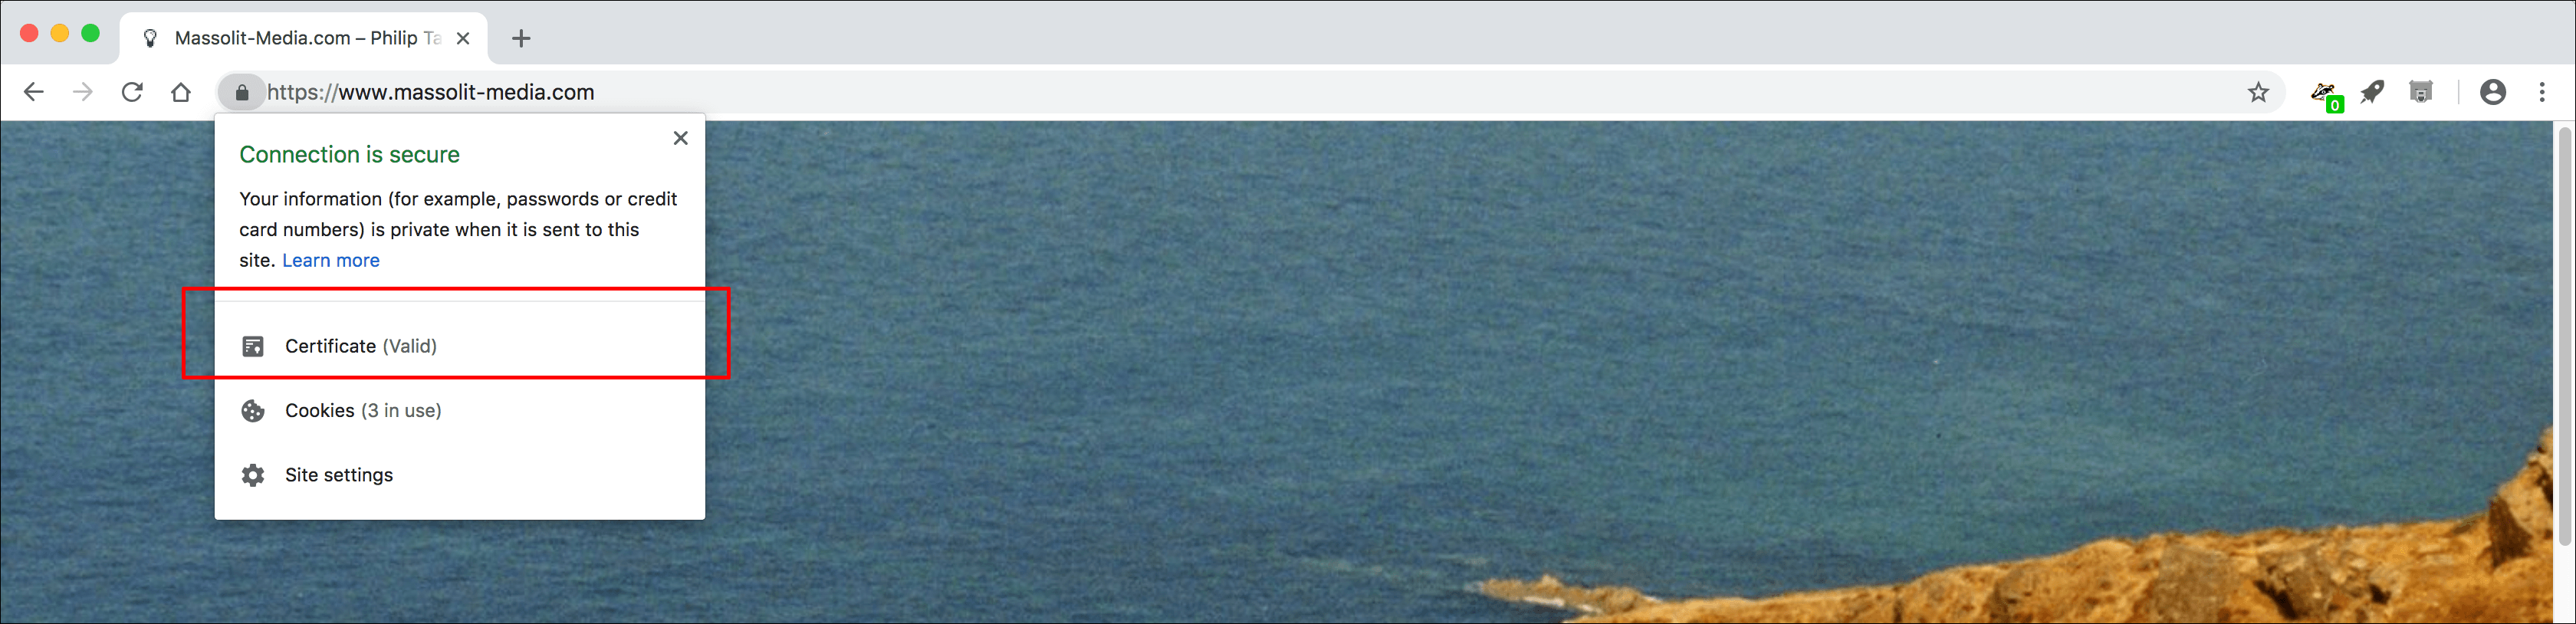
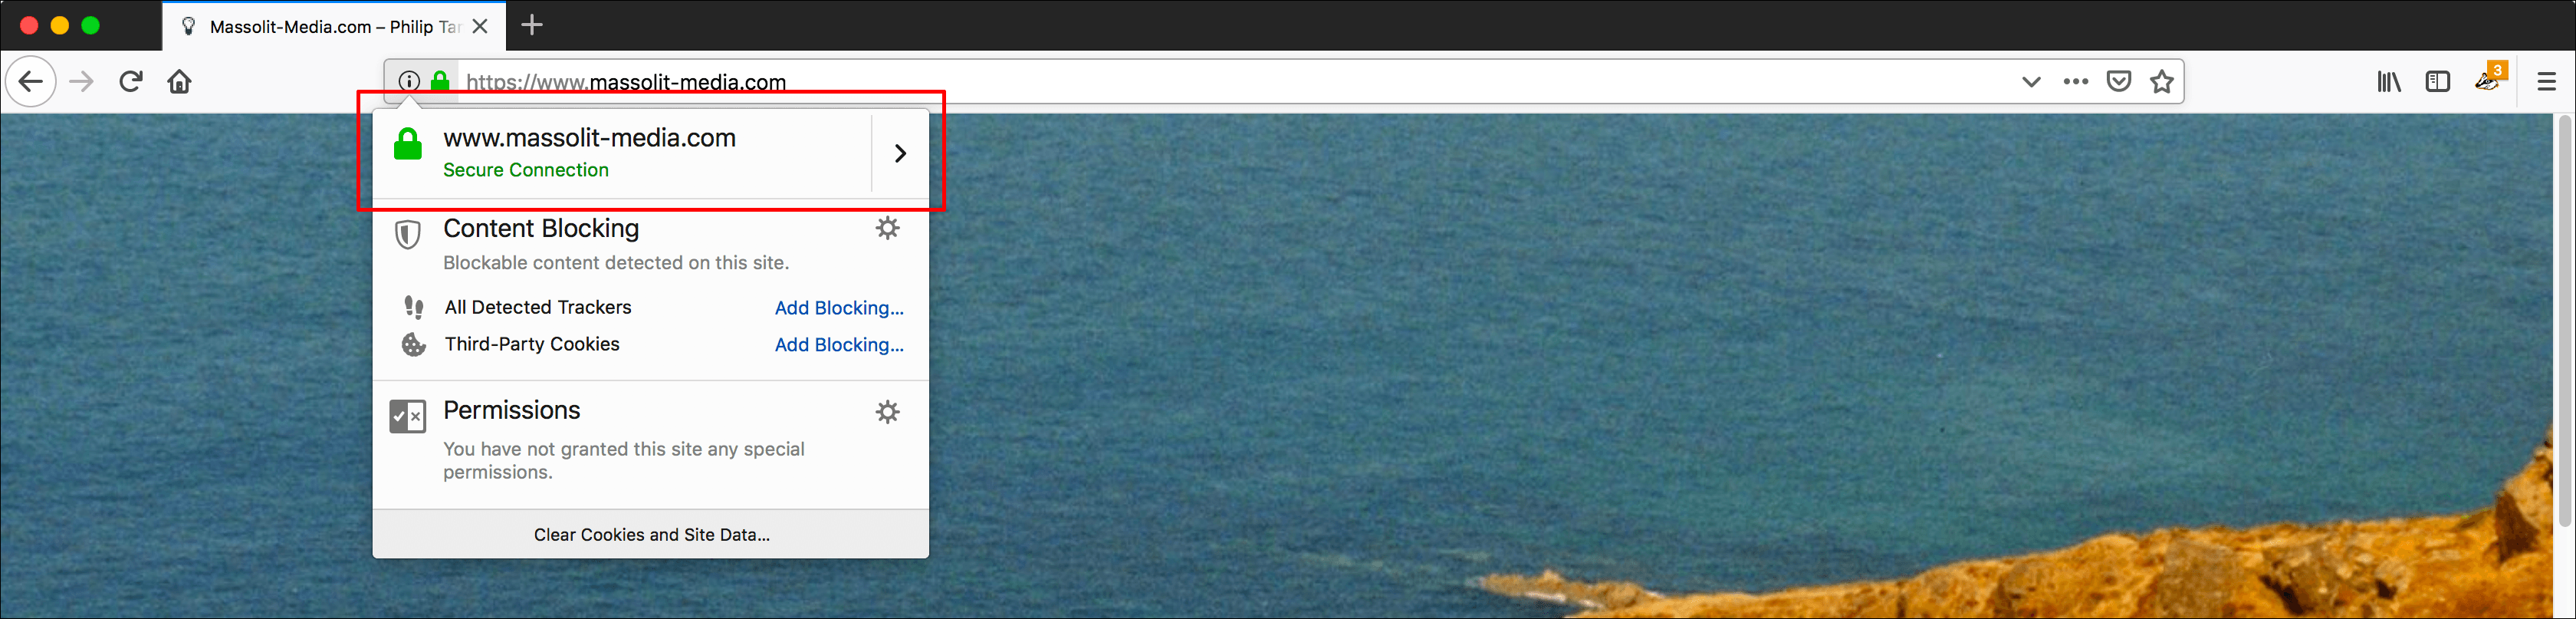
- To confirm that the certificate was renewed, we will check it from the web. Go to the website where you are renewing the SSL certificate. In the address bar of your browser, click the green lock that indicates an HTTPS connection.

- What you see will vary based on your browser.
- Chrome will display a link for Certificate. Click it.
- Firefox will display an icon of a green lock. Click the right arrow next to it.
- Chrome will display a link for Certificate. Click it.
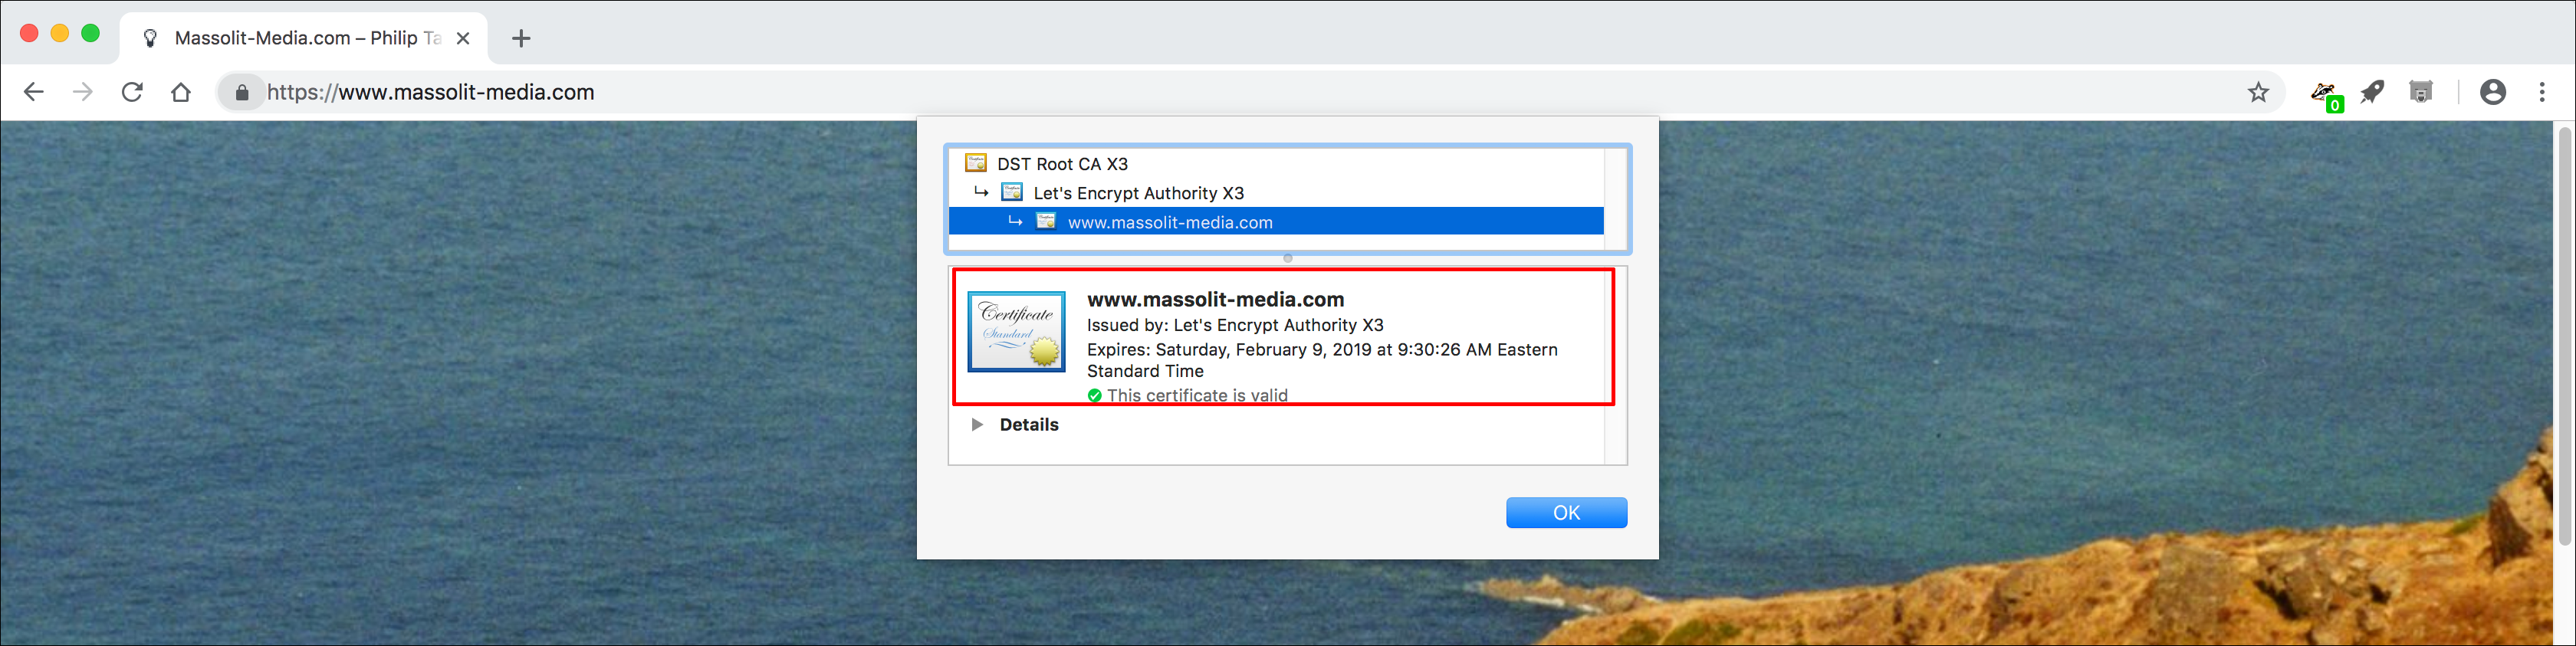
- The details of the SSL certificate will display. Look at the expiry date; it should be 90 days in the future.
- Chrome will show the details of the certificate, including the expiration date. You can also expand the window and twirl down the arrows to see more information about the certificate.
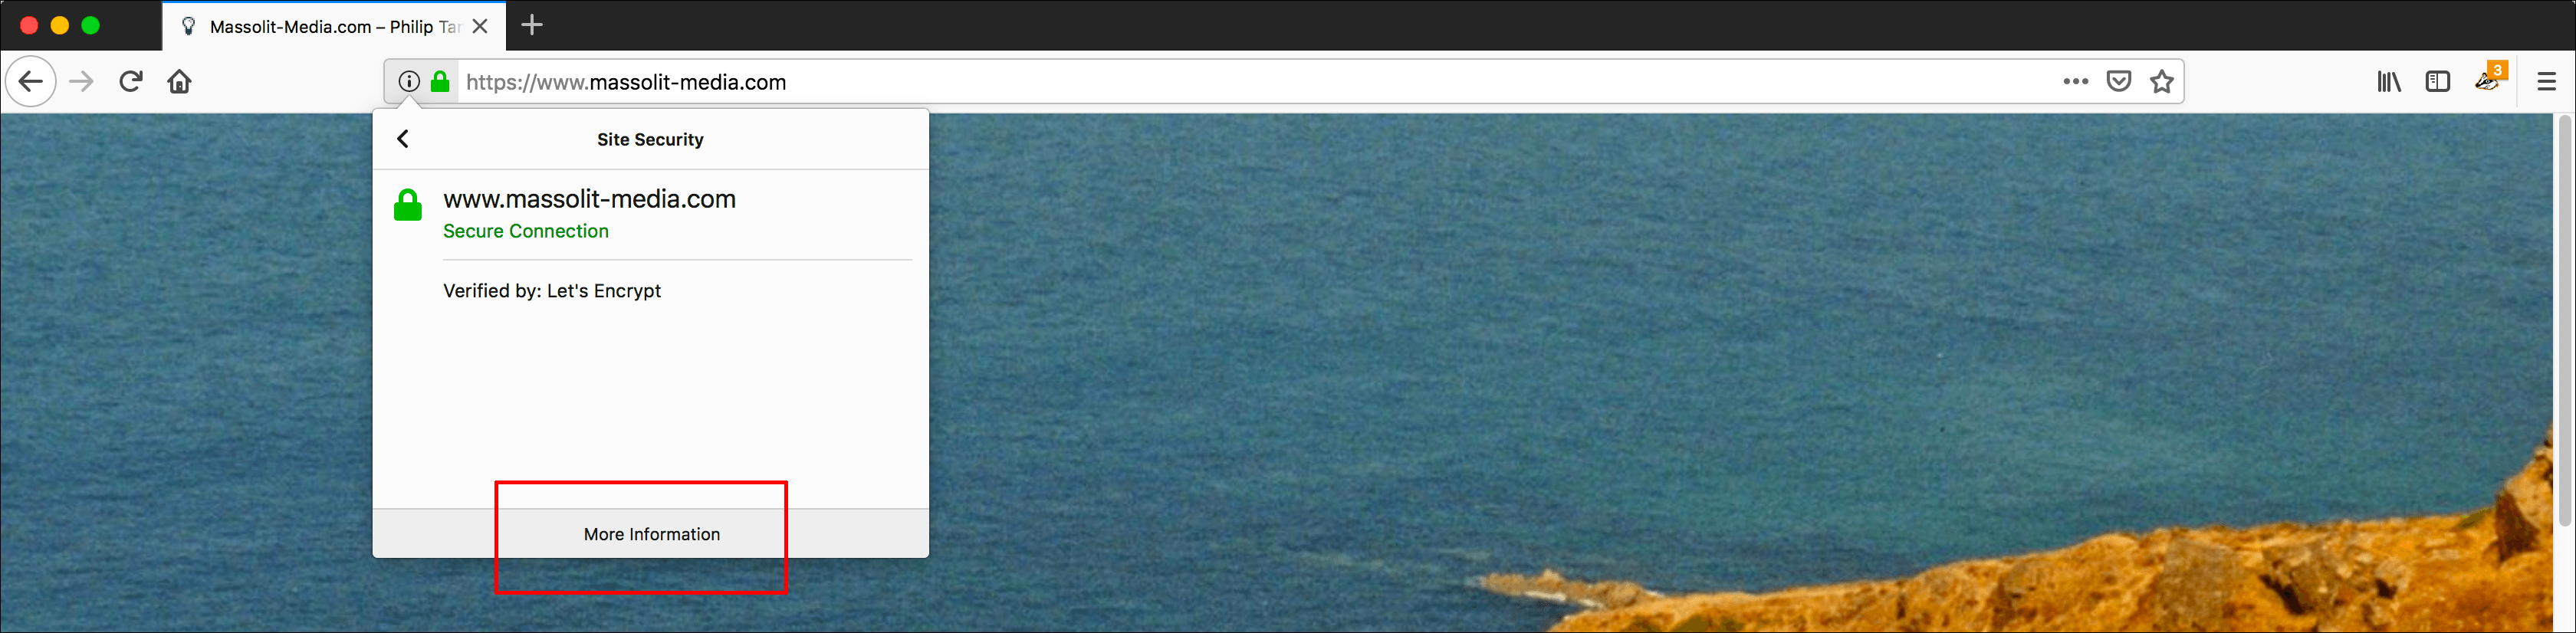
- In Firefox you will need to click More Information.
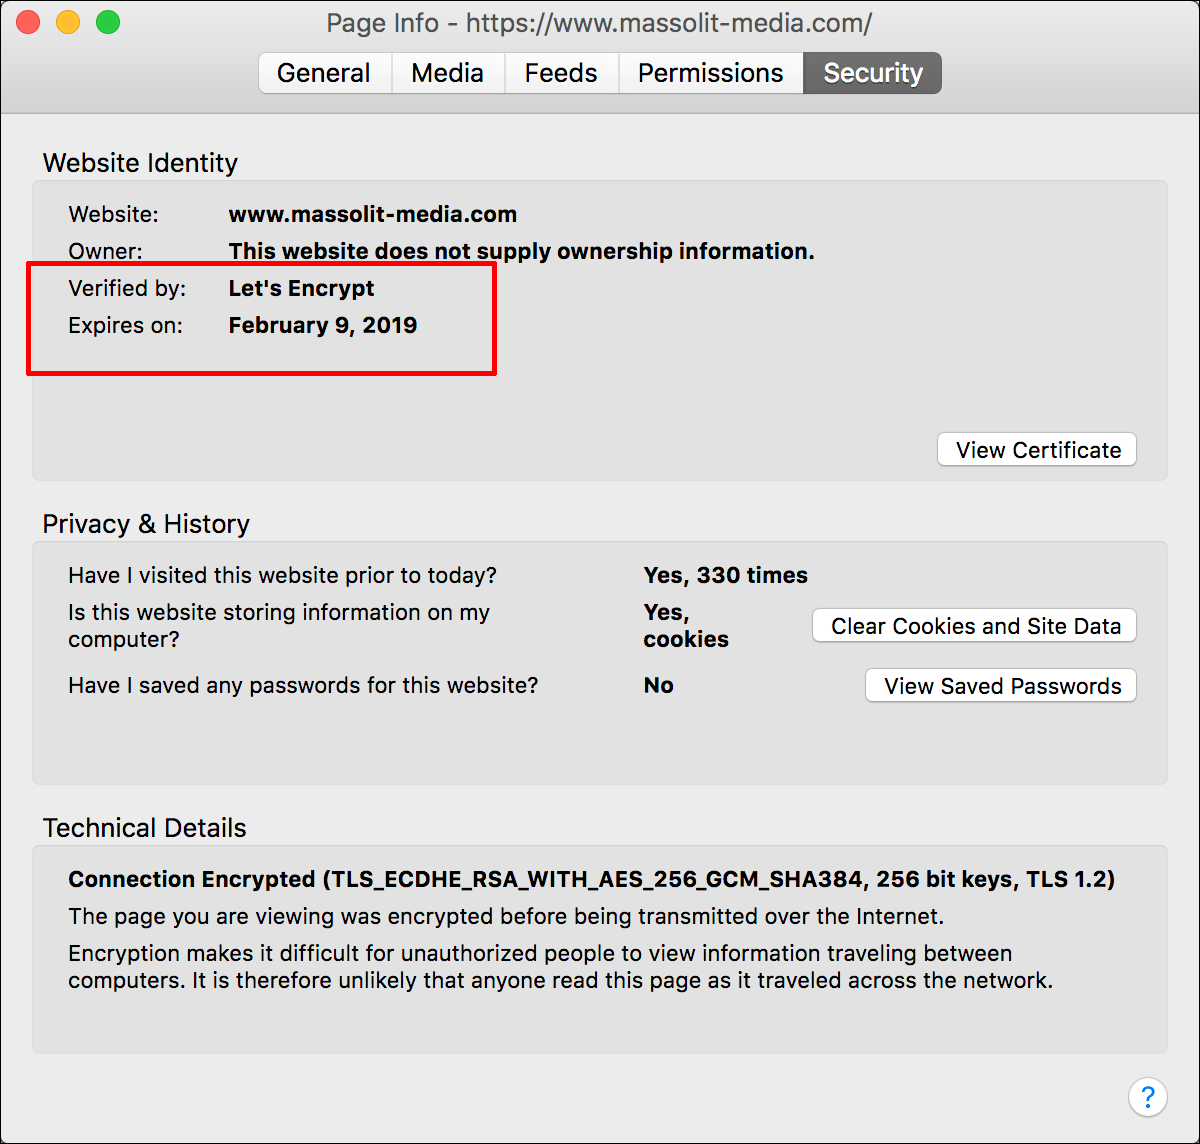
- Firefox will display the Security tab of a Page Info pop-up, which will also include the details of the SSL certificate and its expiration date.
- Firefox will display the Security tab of a Page Info pop-up, which will also include the details of the SSL certificate and its expiration date.
- Chrome will show the details of the certificate, including the expiration date. You can also expand the window and twirl down the arrows to see more information about the certificate.
- Now that you have confirmed that the certificate was renewed, we’re done. Chown the directory back to the root user:
sudo chown -R root:root /etc/lego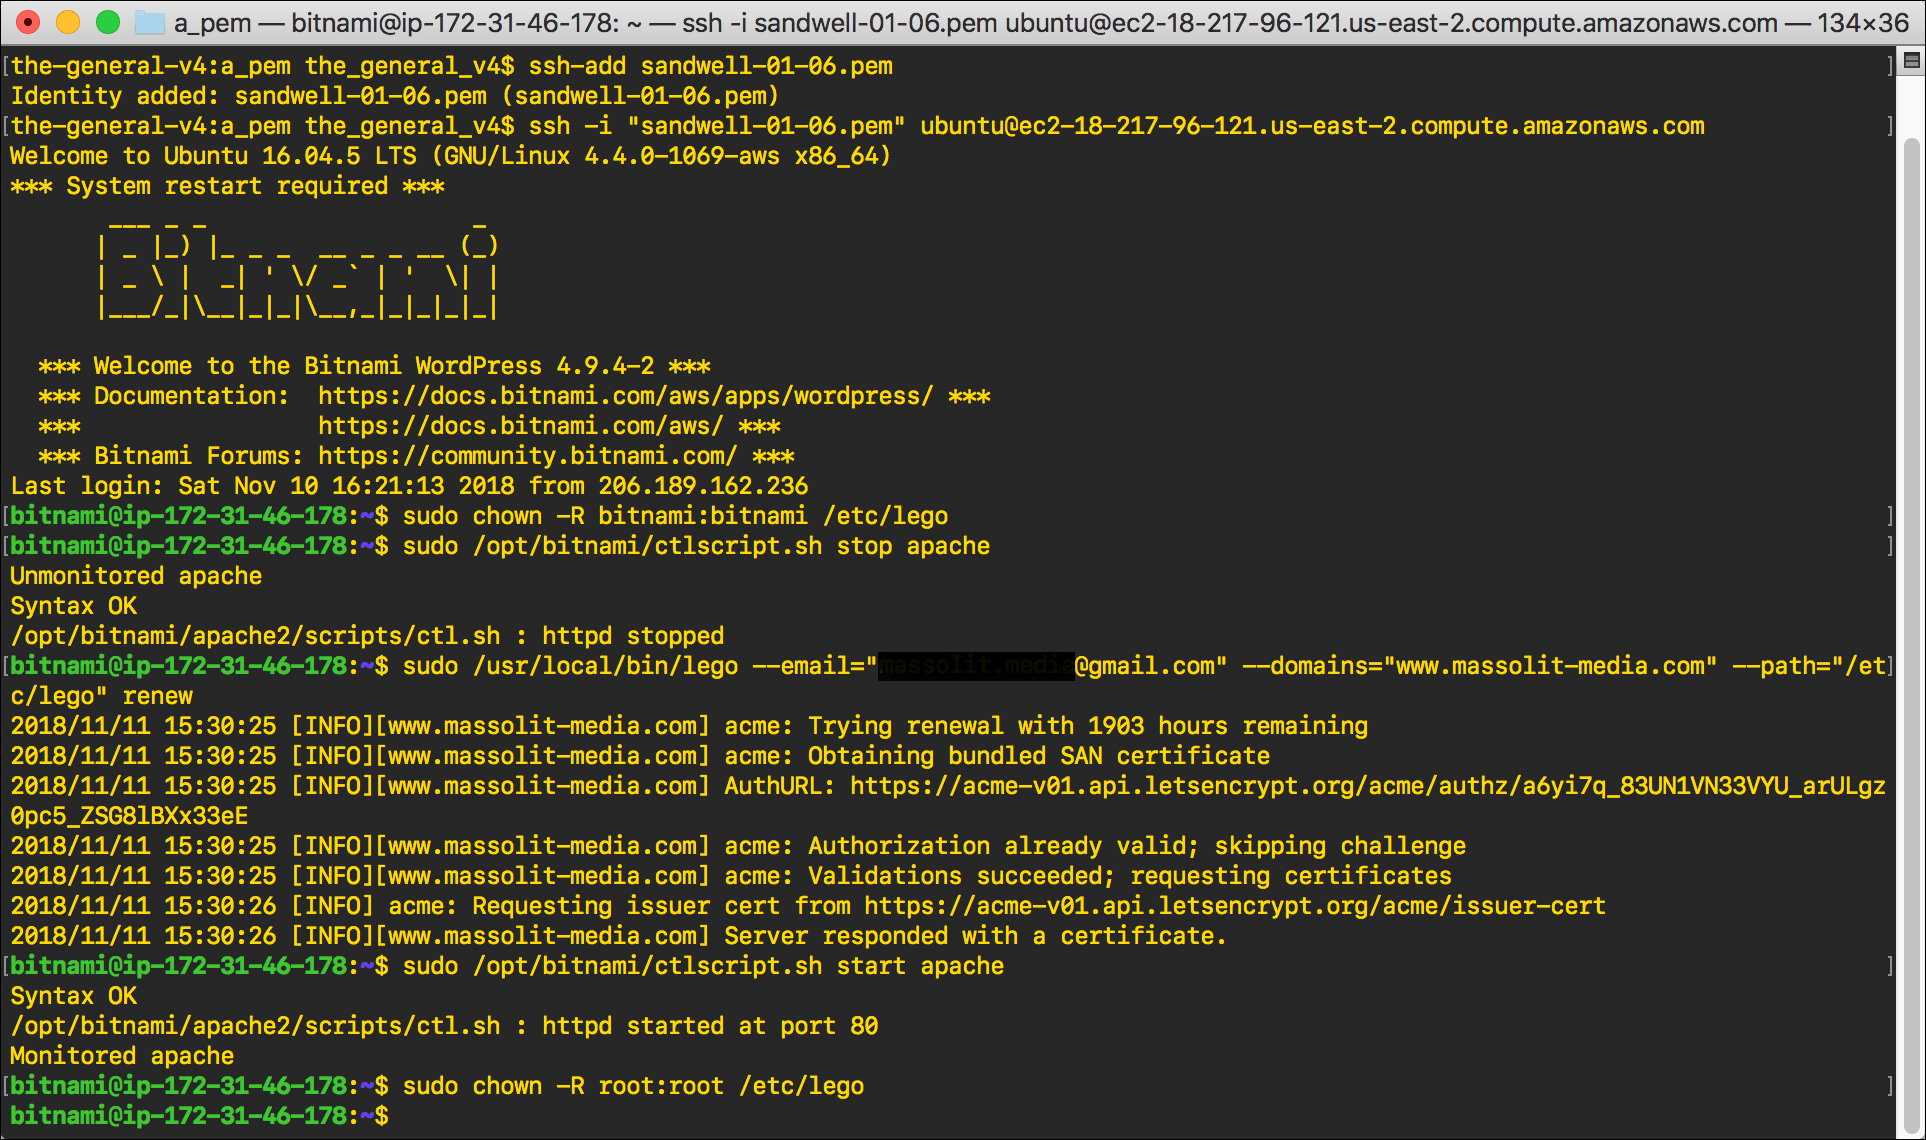
- Confirm that your chown command changed the ownership of lego back to root:
stat -c %U /etc/lego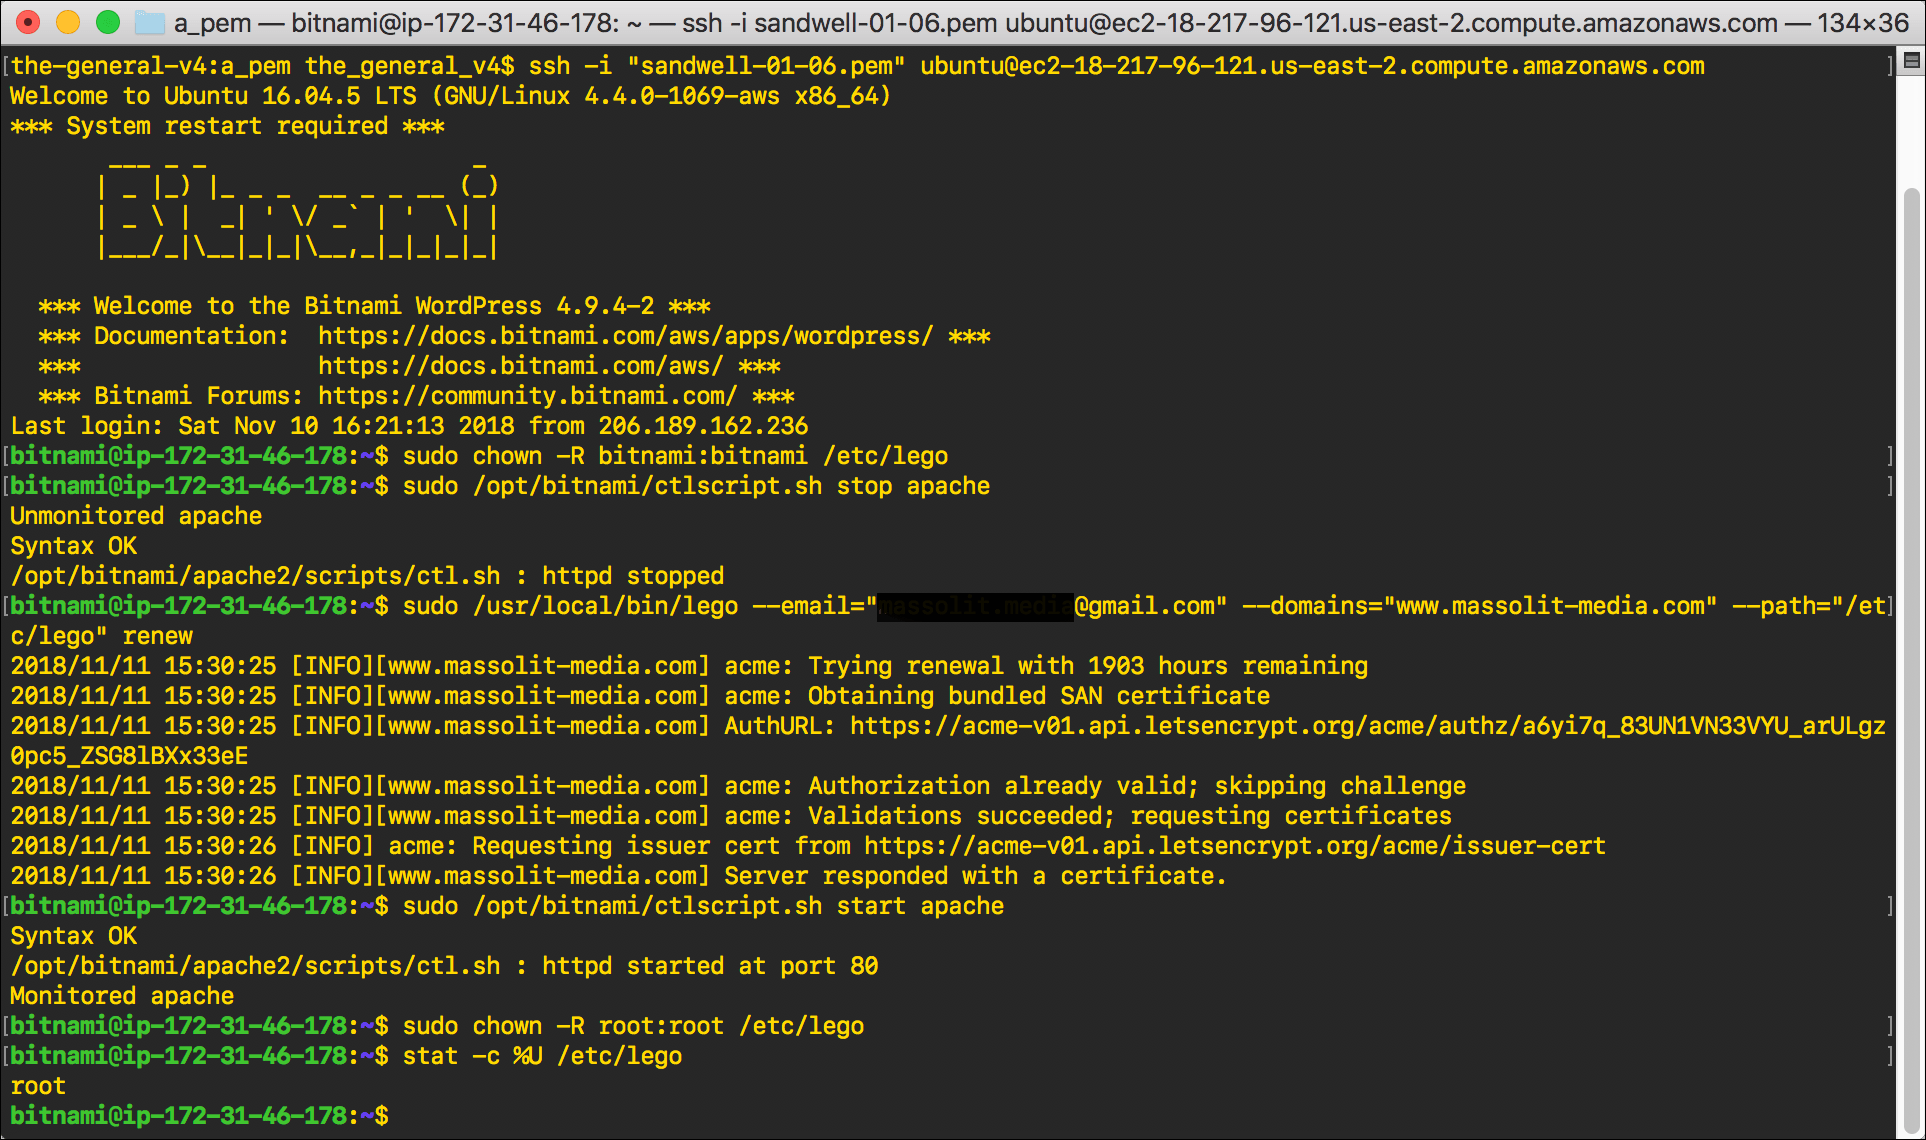
- When
rootdisplays you have confirmed the ownership change, typeexitand pressEnterto disconnect from the EC2 instance.